Student Guide to Moodle
Updated and expanded guide to everything Moodle at SOU!
Participating in Discussions
Insert an Image
It's not hard to insert images in Moodle posts, but you do need to be careful about image size. Some important things to note about inserting images directly in Moodle textboxes such as forum posts, online text assignments, and glossaries:
- Images must be saved as individual files or posted to a website in order to be inserted in Moodle.
- Acceptable image file types are .jpg, .gif, and .png.
- You cannot copy and paste or drag and drop an image into Moodle. You must use the Insert/edit image icon on the toolbar. (See the illustrations here and/or the guide linked below to learn how to customize your image.)
- Images will display in their "native" (original) size, so be prepared to adjust them for best fit.
- When resizing images, you need only change one of the two dimensions as long as the "Auto size" option is checked. Moodle will adjust the other dimension to fit without stretching or flattening your image.
- If you have any trouble getting an image to appear where you want it to go with your text, try entering your text first, then inserting your cursor at the beginning of the paragraph where you want the image to be displayed and inserting the image at that point. Set the alignment for Right or Left and see what happens!
- Large image files (1 MB and up) are slow to load and take up valuable storage space. Learn about resizing images or you can contact the Help Desk for assistance.
Read more about the entire image insertion process.
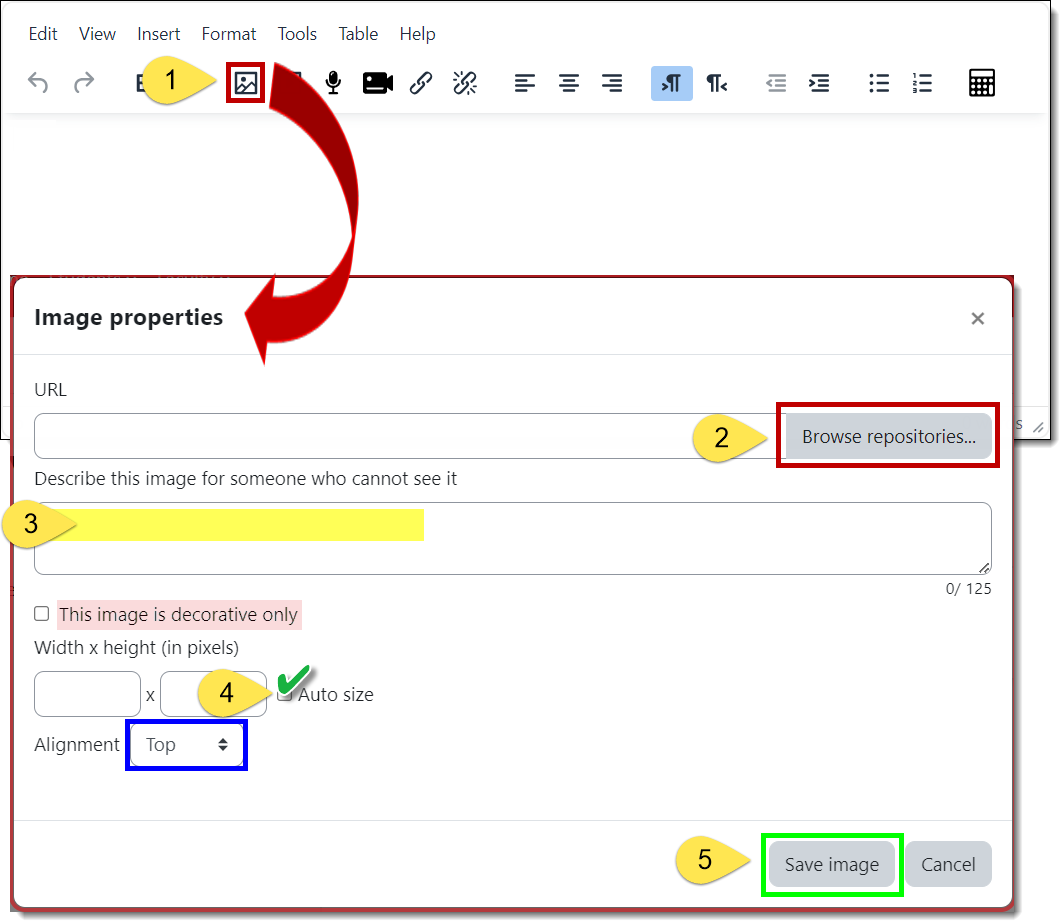
To insert an image:
- Click on the insert image icon in the textbox toolbar.
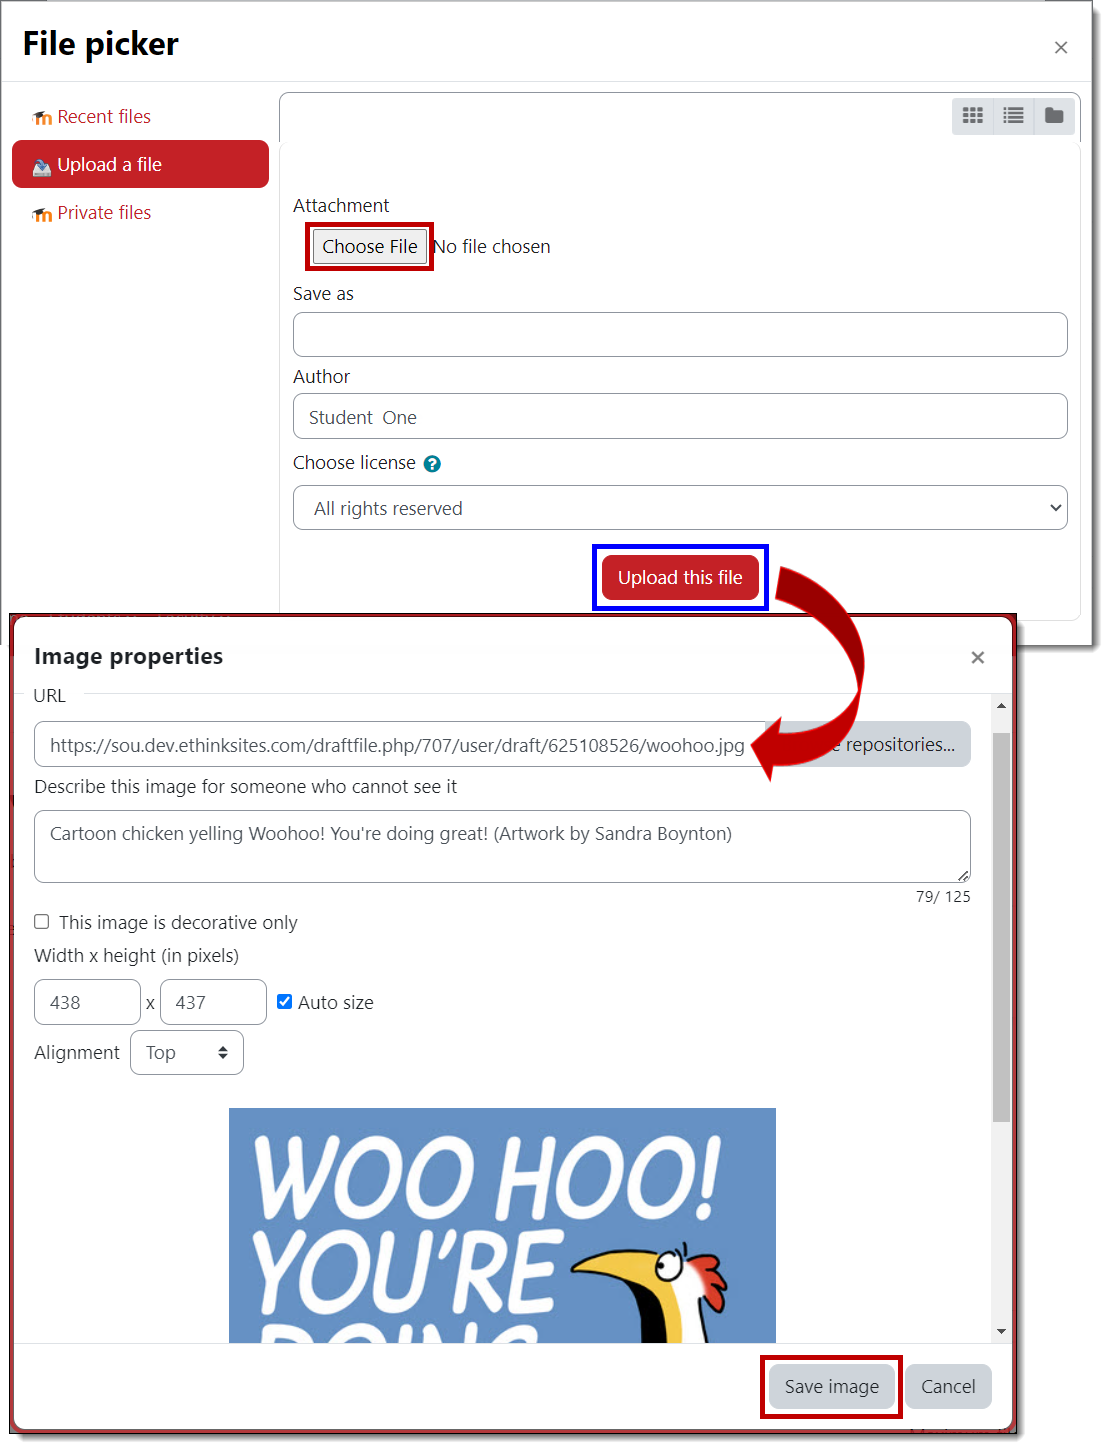
- Click on Browse repositories... to upload an image file from your computer or paste the URL of an image posted to the web in the field provided.
- After selecting your image, add a description of the image in the field provided to create "alt text" for anyone using an assistive device to view your posting or check the box below the description field to indicate that the image is purely decorative.
- Check the box to Auto size your image to ensure that the proportions are maintained correctly. (You can also designate a specific height or width for your image in pixels — 1 inch = 96 pixels [call it 100 and make it easy on yourself!].)
- Click on Save image to return to your textbox.
After you browse out for your image and complete the related fields, the dialogue box should look something like this:
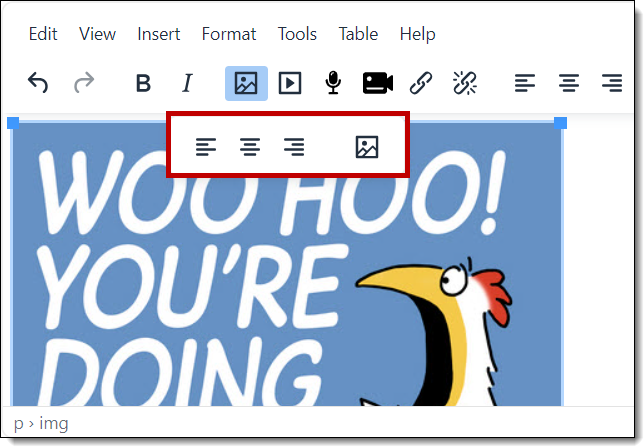
Once you are back in the textbox, click on the image to bring up a set of icons that allow you to position the image left, right or center and to return to the insert image options dialogue box. To resize your image, grab a corner of the image with your cursor and pull it diagonally to enlarge or shrink it. Woohoo, you're doing great!